The little Chinese who welds the beacons
As promised, I received the first 3 prototype cards on Wednesday.
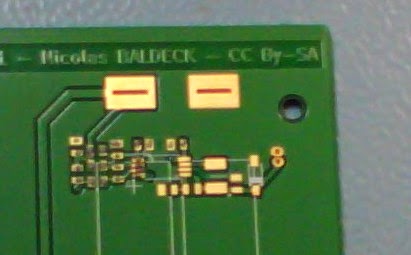
All beautiful, all shiny, all golden (it's real gold plated, like in mom's earrings!). But they are also all naked. It was therefore necessary to help these young ladies to get dressed, so that they would be ready for the big night.
Head to the lab. I put myself in the shoes of a small Chinese child for a day.
Overflowing with tenderness, the owner of the place offers me a coffee. I accept it without thinking. Fatal error ! You will soon understand why…
Dough salt solder!
We are in 2014. Gone are the good old days of components with long legs, which had to be passed through the holes of the card. Forget soldering iron and tin. Here, we make SMD=Surface Mounted Device, or Surface Mounted Component.
The first step is to deposit "solder paste" in the locations where the small components will come.
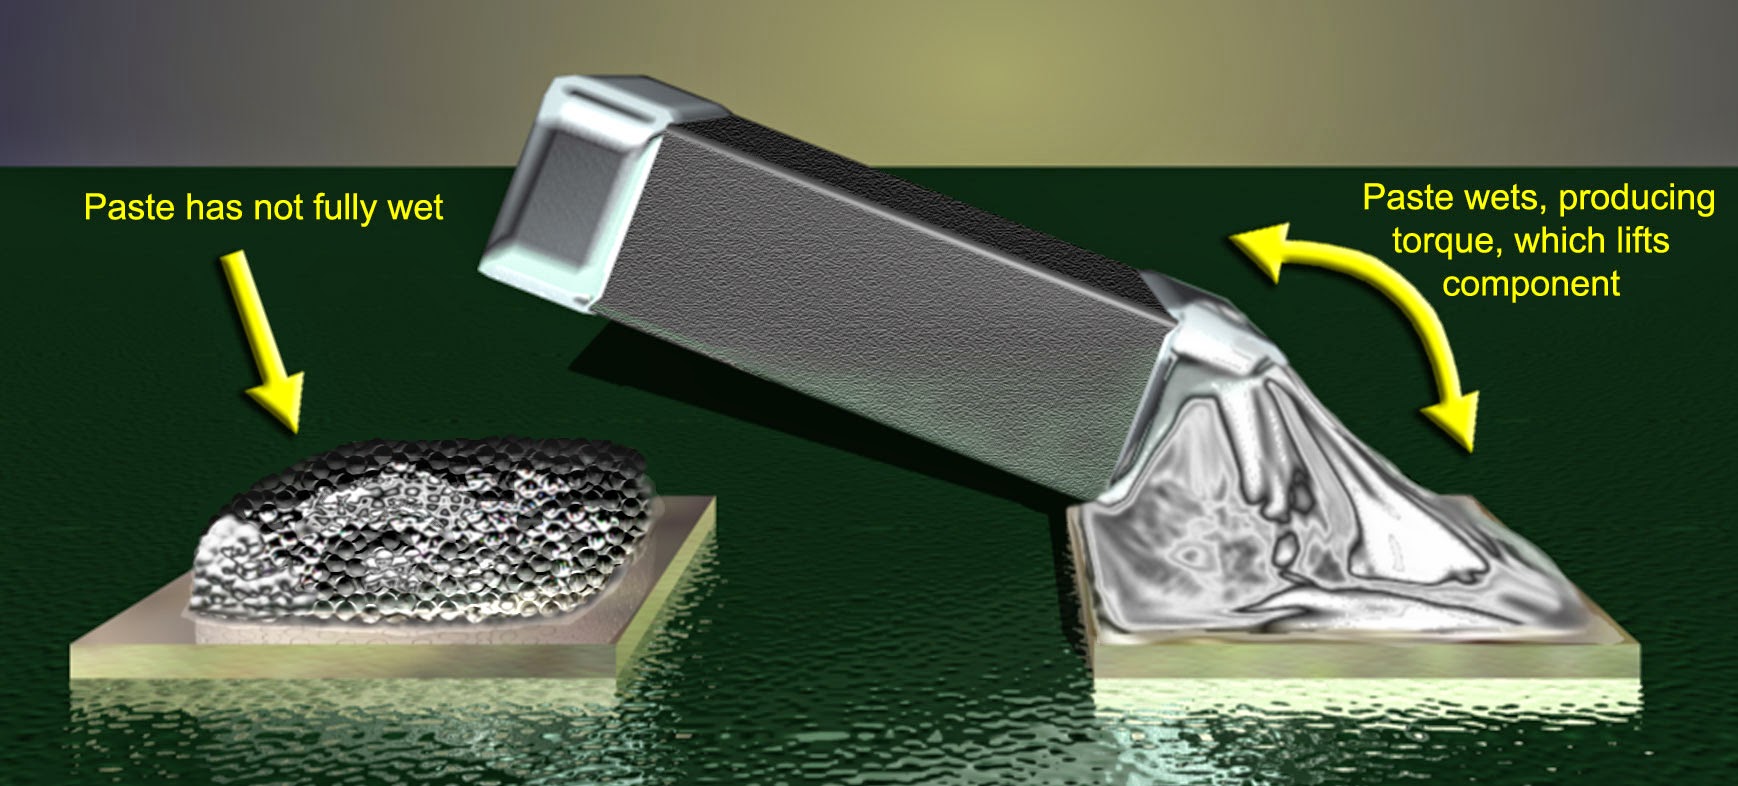
As the name suggests, it's a paste, made up of tiny balls of tin bound together with flux (something that makes soldering easier - usually rosin, like the resin you put on violin bows). When heated, it melts and turns into real solder, as if by magic.
 |
| An image taken from the net that shows the before / after. |
In general, we use a "stencil" = stencil to deposit the dough in the right places. Except that for 3 cards, the stencil was expensive. So I put the paste in the syringe.
 |
| Do not tremble. Coffee bastard! |
 |
| It gives something like |
Pick and place
Then, you have to put the components on the board.
In real life, machines have long since replaced small Chinese children for this work.
Video of a machine surely very very expensive, that I would like to have in the garage:
But since there are only three cards to assemble, I use a slightly more artisanal method. This is where coffee really hurts!
I then start with the easiest components: the "0603", like 0,6 x 0,3 tenths of an inch, or 1,6 x 0,8 mm. It's not big, but we're still doing well by hand. Delicately, one by one, placed right in the dough.
 |
| Better than tweezers: the vacuum syringe! |
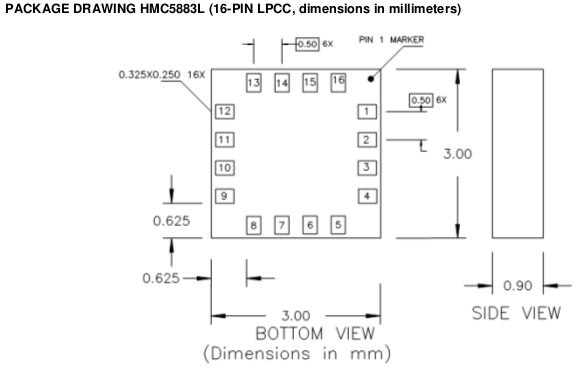
But then it gets complicated. Especially with the compass. The thing is 3 x 3mm, and in there they manage to wedge 16 welds…
This time, the coffee is stronger than me! We have to pull out the big guns. I therefore entrust the tiny chip to much more skilled fingers.
All that's left to do is remote control quietly to the right location.
When the red reflections of the component are exactly above the tracks of the circuit, we lower it, and hop the trick and played!
Blue, rare or medium?
Only the most important step remains. The cooking !
At home, I would have used my famous electronic stove.
But as here we are among respectable people, and I had a little gear on hand, I did like the pros, that is to say baked.
It doesn't look like that, but it's ultra scientific. You have to manage the temperature well, so that it welds well, without deforming the board or damaging the components, etc... Quite an art!
Fukushima style
And then how fun it is to play with X-rays, a little x-ray of the board, just to check that the components have been soldered in the right place and that there are no short circuits.
 |
| It's won! You can even see the inside of the compass! |
Let's get it over with!
There are still a few small details.
You still have to take out the old soldering iron for the few through-hole components: the battery supports, the solar panel connector, the anemo's ILS and the wind vane's phototransistor.
A little cleaning, and here are our cards ready for the adventure:
Of course, I realize that there are small errors on these first cards. No big deal, it still works. But they will have to be corrected for the printing of “real prototypes” (= yours). That's how we learn!
This article tells you about the birth of Piou Piou, the first 100% autonomous and affordable sensor to measure the wind live, even where there is no electricity or internet.
Discover Pioupiou on his website: http://pioupiou.fr


4 thoughts on “ The little Chinese who welds the beacons »
congratulations, great adventure and a lot of passion.
And you find the time to clearly explain all this to us, with photos, diagrams and everything! Cheer
Jacques Berard
Great job Nicholas! And thanks for the explanation!
It's nice to see enthusiasts
Yoyo
I love artisans, especially artists!